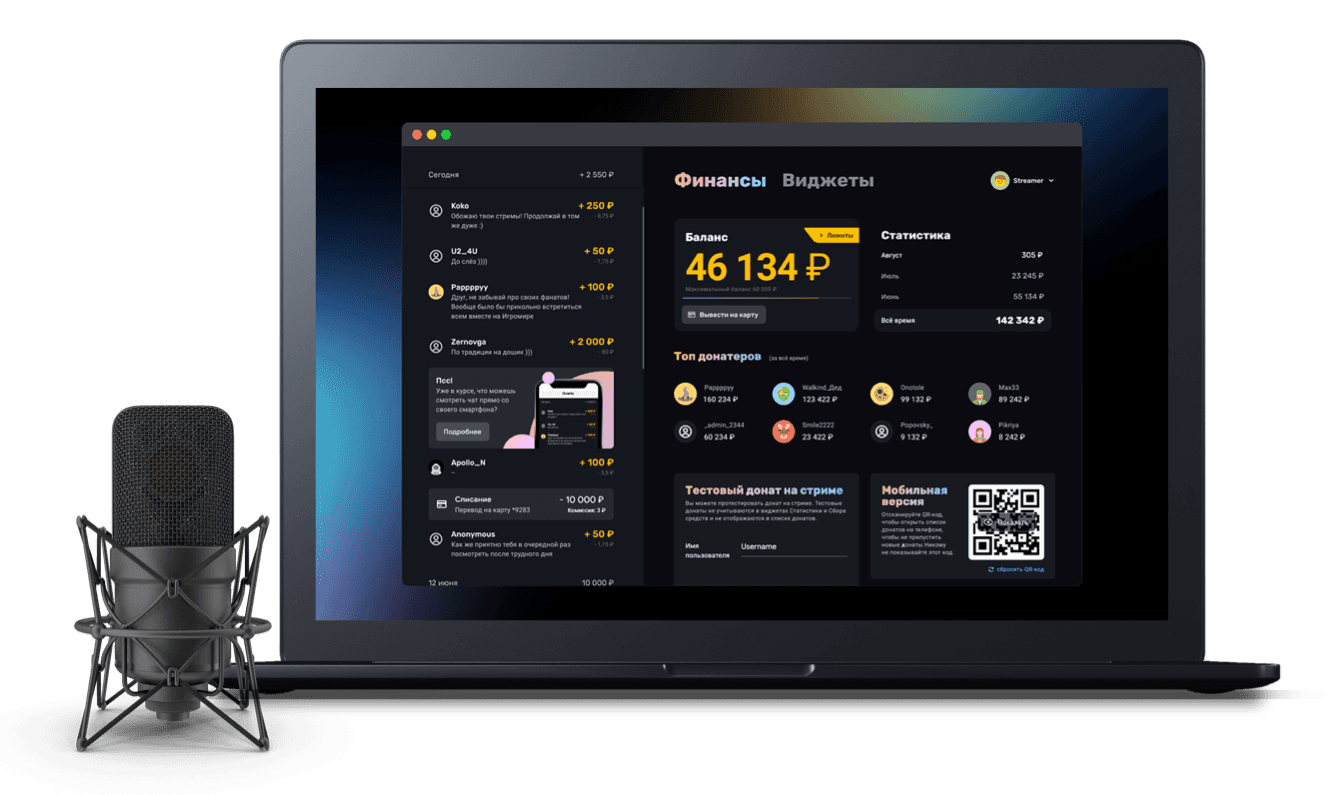
A guide to setting up the media widget
The media widget lets viewers send videos along with their donation, and lets the streamer show them on stream and control playback conveniently.
What you need to get started
Before you begin, make sure that you have:
set up your donation page;
access to the widgets section;
OBS installed, if you plan to show media on stream.
Turn on media on your donation page
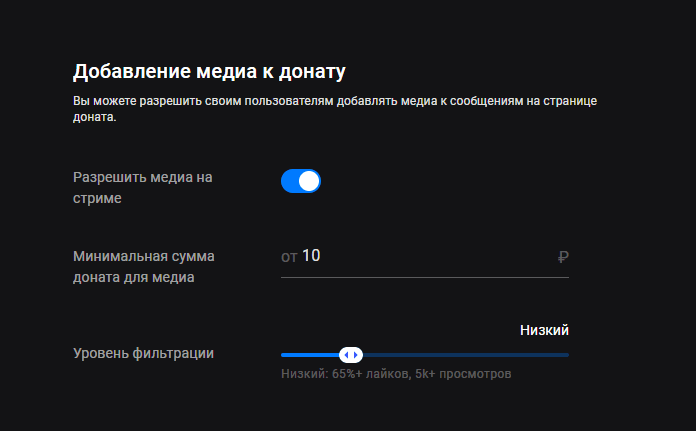
Open your donation page settings and turn on the “Allow media on stream” option. After that, viewers will be able to attach a video link to their donation. At this point it is also worth setting straight away:
a minimum donation amount for media — to avoid spam and random clips;
a filtering level — to limit clips by views and likes.
for a looser format, a low filter or none at all works;
for ordinary streams, medium;
for stricter moderation, high or very high.
Check how a viewer sends media
Once the feature is on, a field for a video link appears on your donation page for the viewer.
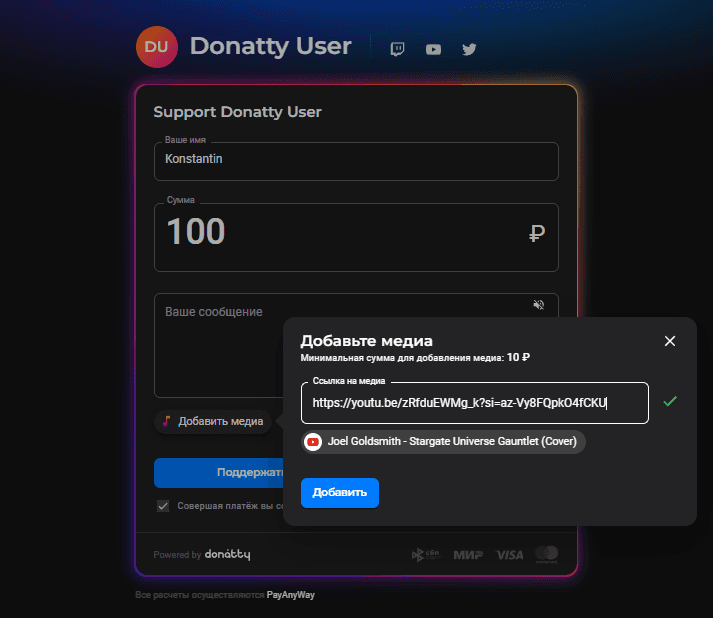
The flow looks like this:
the viewer types a message;
adds a link to a clip;
sends the donation;
the video joins the playback queue.
Add the media widget to OBS
To show media on stream, add the widget to OBS as a browser source. Do the following:
open the Widgets section;
choose Media;
copy the widget link;
open OBS;
click Add in the Sources block;
choose Browser;
paste the link into the URL field;
save the source.
Set up how the widget looks
Once it is in OBS, place the widget somewhere convenient on the scene and adjust its styling if you need to. It is worth checking:
that the widget does not cover your camera, chat or alerts;
that the clip title is readable;
that the block size suits your scene;
that the styling does not get in the way of the stream's main content.
Set up control through OBS
To avoid keeping the dashboard open separately, you can add a control panel in OBS (the OBS version, from the tools section) as a custom browser dock
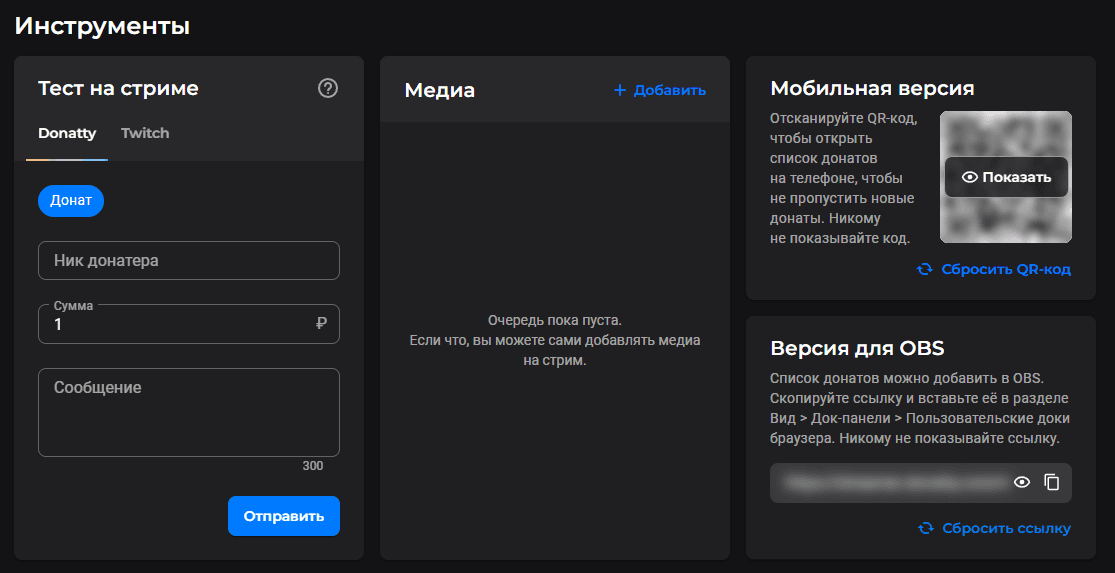
To do that:
open the Finance section;
find the “OBS version” block;
click “Copy”;
in OBS, open View → Docks → Custom Browser Docks;
enter a name;
paste the link into the URL field;
click “Apply and Close”.
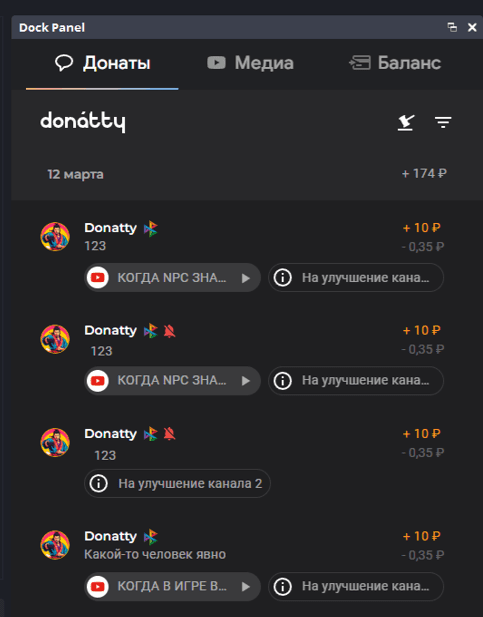
Important: never show anyone the QR code or the OBS link, and take particular care not to show them on stream by accident. Anyone who has your code or link can track your donations too. If it does happen, read the section Resetting the QR code and the OBS link
Setup recommendations
To keep the media widget from causing trouble during a stream, we recommend that you:
set a minimum donation amount for media;
turn on clip filtering;
use moderation if your audience is lively or the stream is public;
never show the internal OBS links on stream.
If you are turning the media widget on for the first time, these settings are a good starting point:
medium filtering level;
a minimum donation amount for media;
compact widget styling;
control through the OBS dock panel.
Showing the donation list in OBS or opening it on your phone or tablet
Setting up widget and notification links in other popular live streaming apps