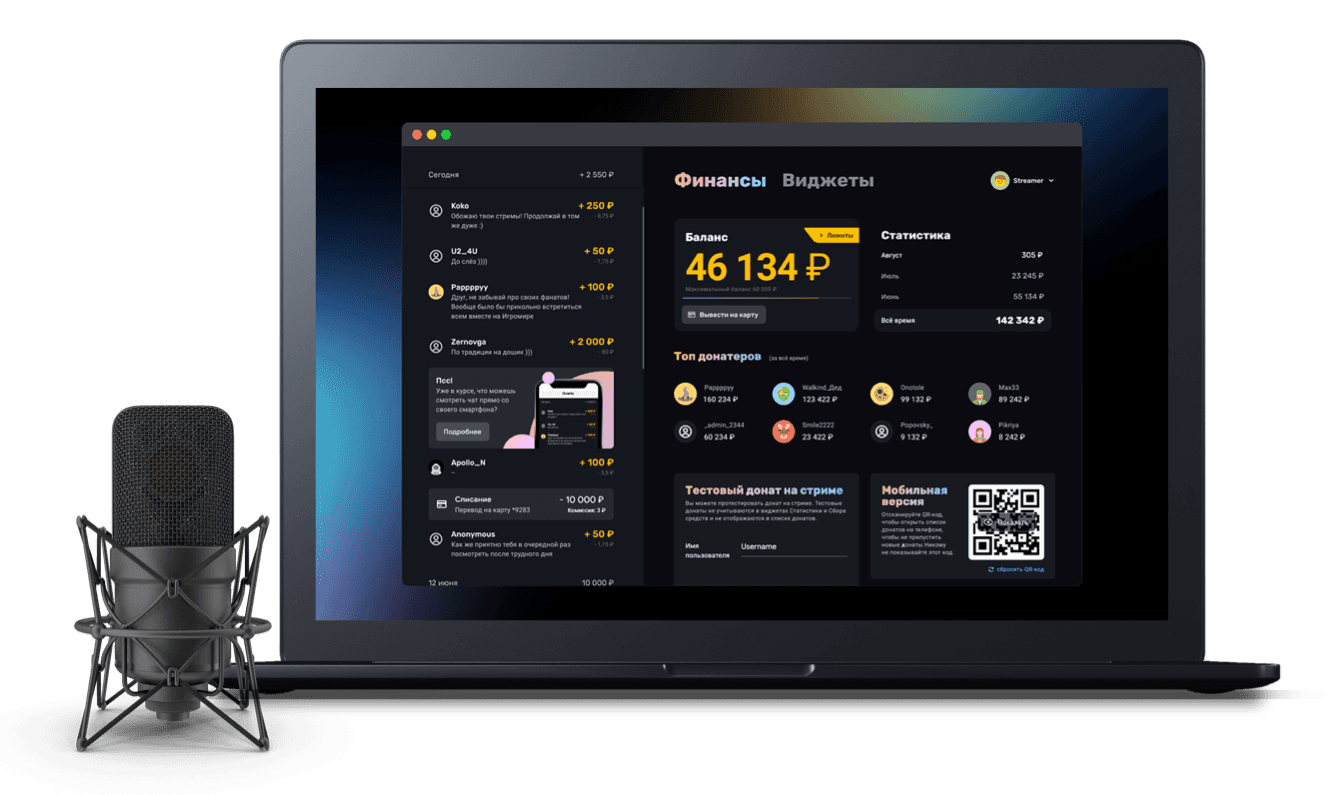
How to set up text-to-speech in the alert widget
Choosing a voice, adjusting speech rate and volume, and writing the alert template
Donation and subscription alerts are an important part of any stream. Streamers put a lot of thought into them: picking a striking animation, an interesting alert sound, a good position on screen and the right colours. But text-to-speech matters just as much. Let's look at how to set up voice narration for alerts in Donatty.
Turning on text-to-speech
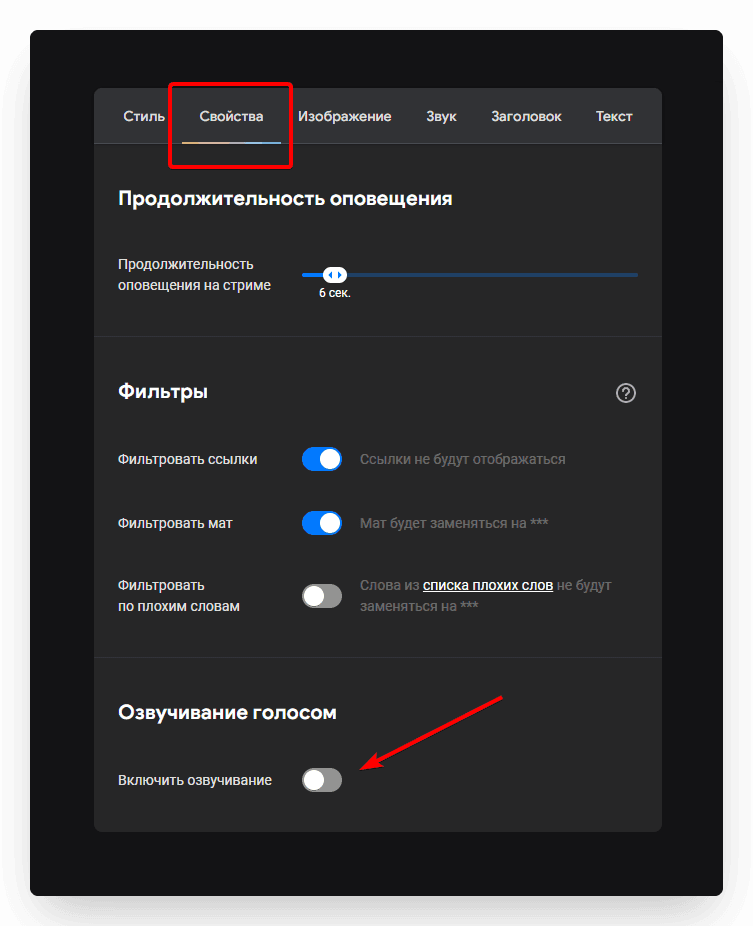
To turn on text-to-speech, open the alert widget settings, go to the Properties tab and switch the toggle on.
Choosing voices
Switching the toggle on reveals extra widget settings. The most important one is the choice of voice. A voice is already selected by default. You can keep it, or swap it for one that suits your stream better. To do that, click the magnifier icon with arrows. Pick a voice you like from the list that opens. To hear how it sounds, click the Play button next to its name.
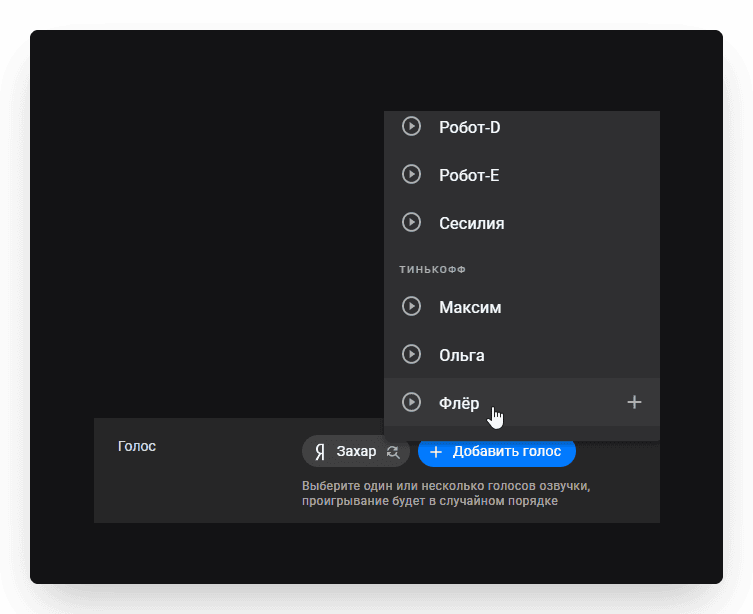
The Add voice button lets you pick several voices. On stream, the added voices will play in random order.
Setting up the narration template
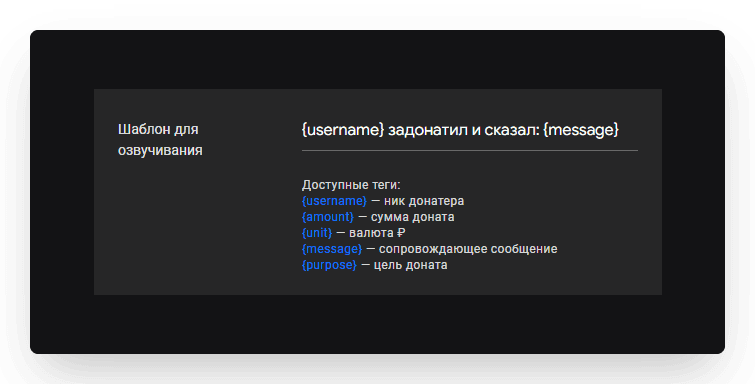
The template is made up of static text and tags — special variables in curly braces. When the alert appears on stream, the static text stays the same, while the voice reads out the matching values in place of the tags. For example, {username} will be replaced by the nickname of the person who donated.
Setting the order, speed and volume of speech
Donatty also lets you control the narration settings. The drop-down in the Order row lets you choose when the speech plays:
speech after the alert sound;
speech before the alert sound;
speech during the alert sound.
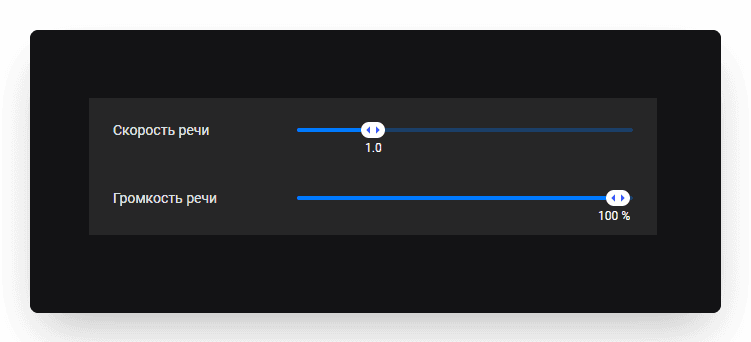
To hear how your settings sound, click the Play button on the preview screen. Once you save the settings, alerts on your stream will be read out loud.
Setting up a donation alert on stream: amount conditions, custom text and GIFs, adding it to OBS
Setting up donation alerts with amount conditions