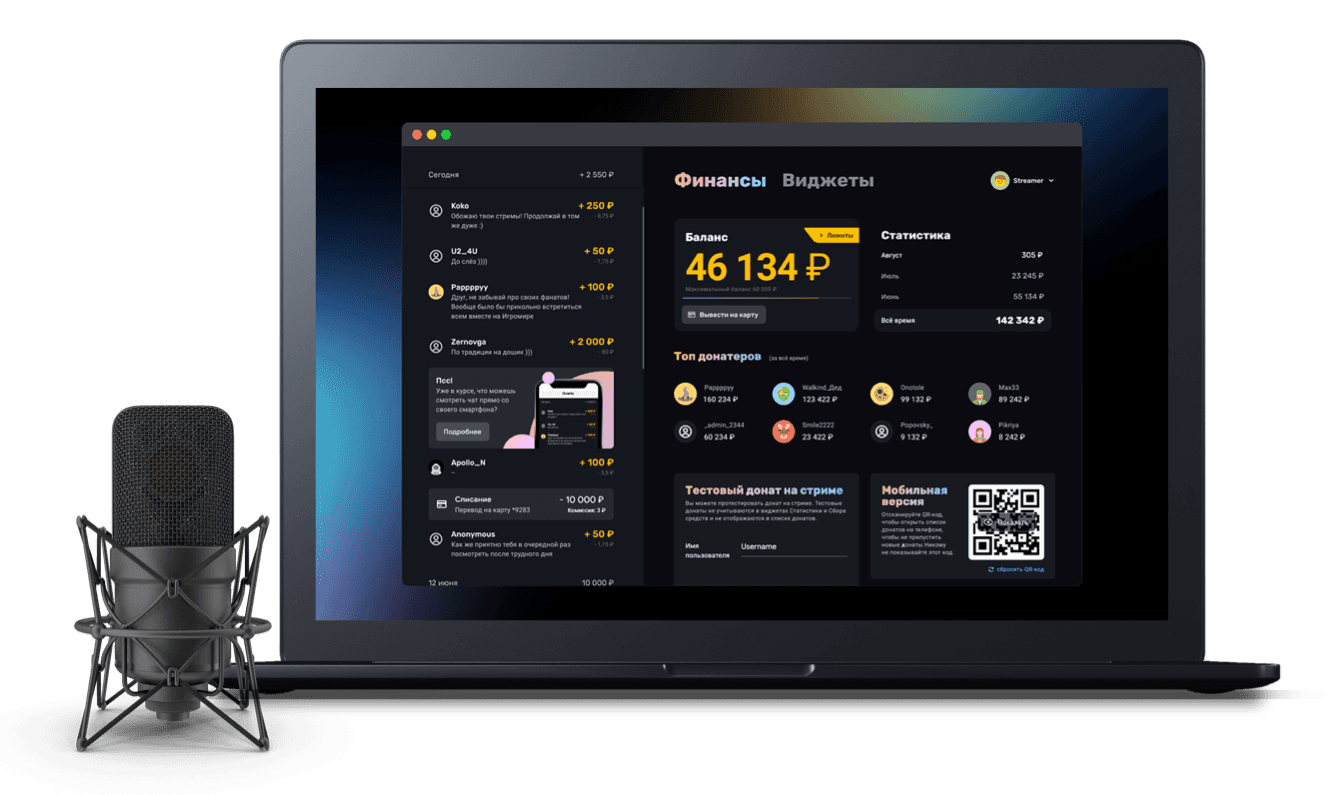
How to connect Twitch notifications
Showing alerts for Bits, follows, subscriptions and raids
If you stream on Twitch, chances are you want to see alerts for the standard Twitch events on your stream:
Bits donations;
Follows;
Channel subscriptions;
Gift subscriptions;
Raids;
Hosts;
Channel Points rewards and others.
Connecting Twitch as a data source;
Configuring the alert widgets;
Adding the widgets to your stream.
Connecting Twitch as a data source
There are three ways to connect Twitch as a data source:
when you register with the service;
in your Donatty user profile;
while configuring an alert widget.
Connecting Twitch at registration
If you registered with Donatty using your Twitch account to sign in, there is nothing to do: Twitch has already been connected as a data source automatically. There are situations, though, where you signed in with one Twitch account but want alerts from another. In that case, use one of the methods below.
Connecting Twitch in your Donatty user settings
To connect Twitch in your user settings, open the settings by clicking your avatar in the top right corner and choosing Settings. Then, on the settings screen, click Link a new account.

Choose Twitch in the window that appears. Once authorisation is complete, Twitch appears in the list of connected accounts.
Connecting Twitch in the Alert widget settings
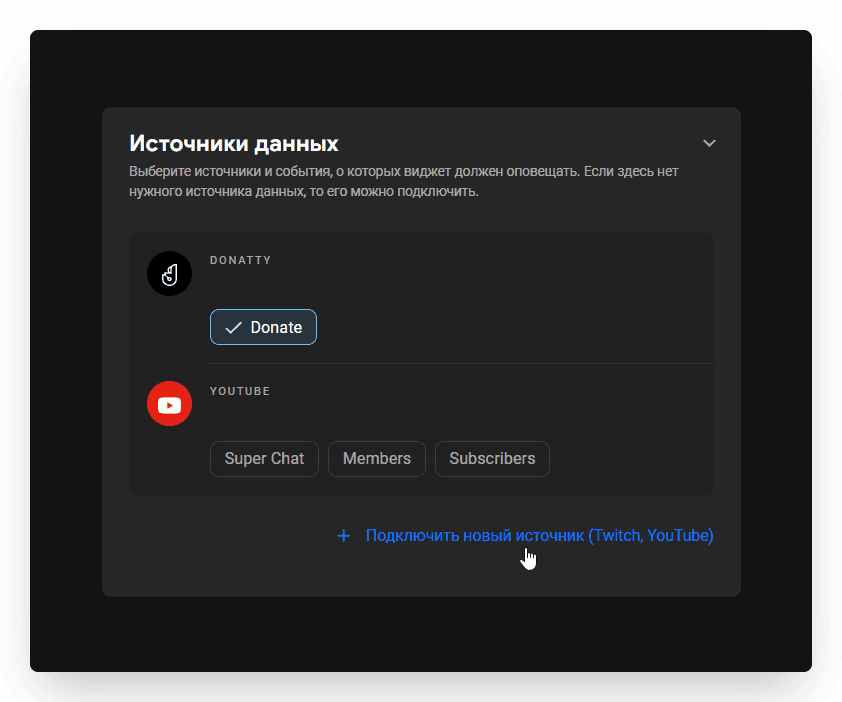
Twitch can also be connected right while you are configuring an Alert widget. To do that, click Connect a new source in the Data sources block.
Configuring the alert widgets
Once a new account is connected, the system automatically creates default widgets for every data type it provides. For Twitch these are alert widgets called:
New Bits donation;
New follower;
Paid subscription;
Gift subscription to a user;
Gift subscription to the channel;
Gift subscription upgrade;
Subscription upgrade;
Channel Points reward;
Hype Train start;
Channel host;
Channel raid.
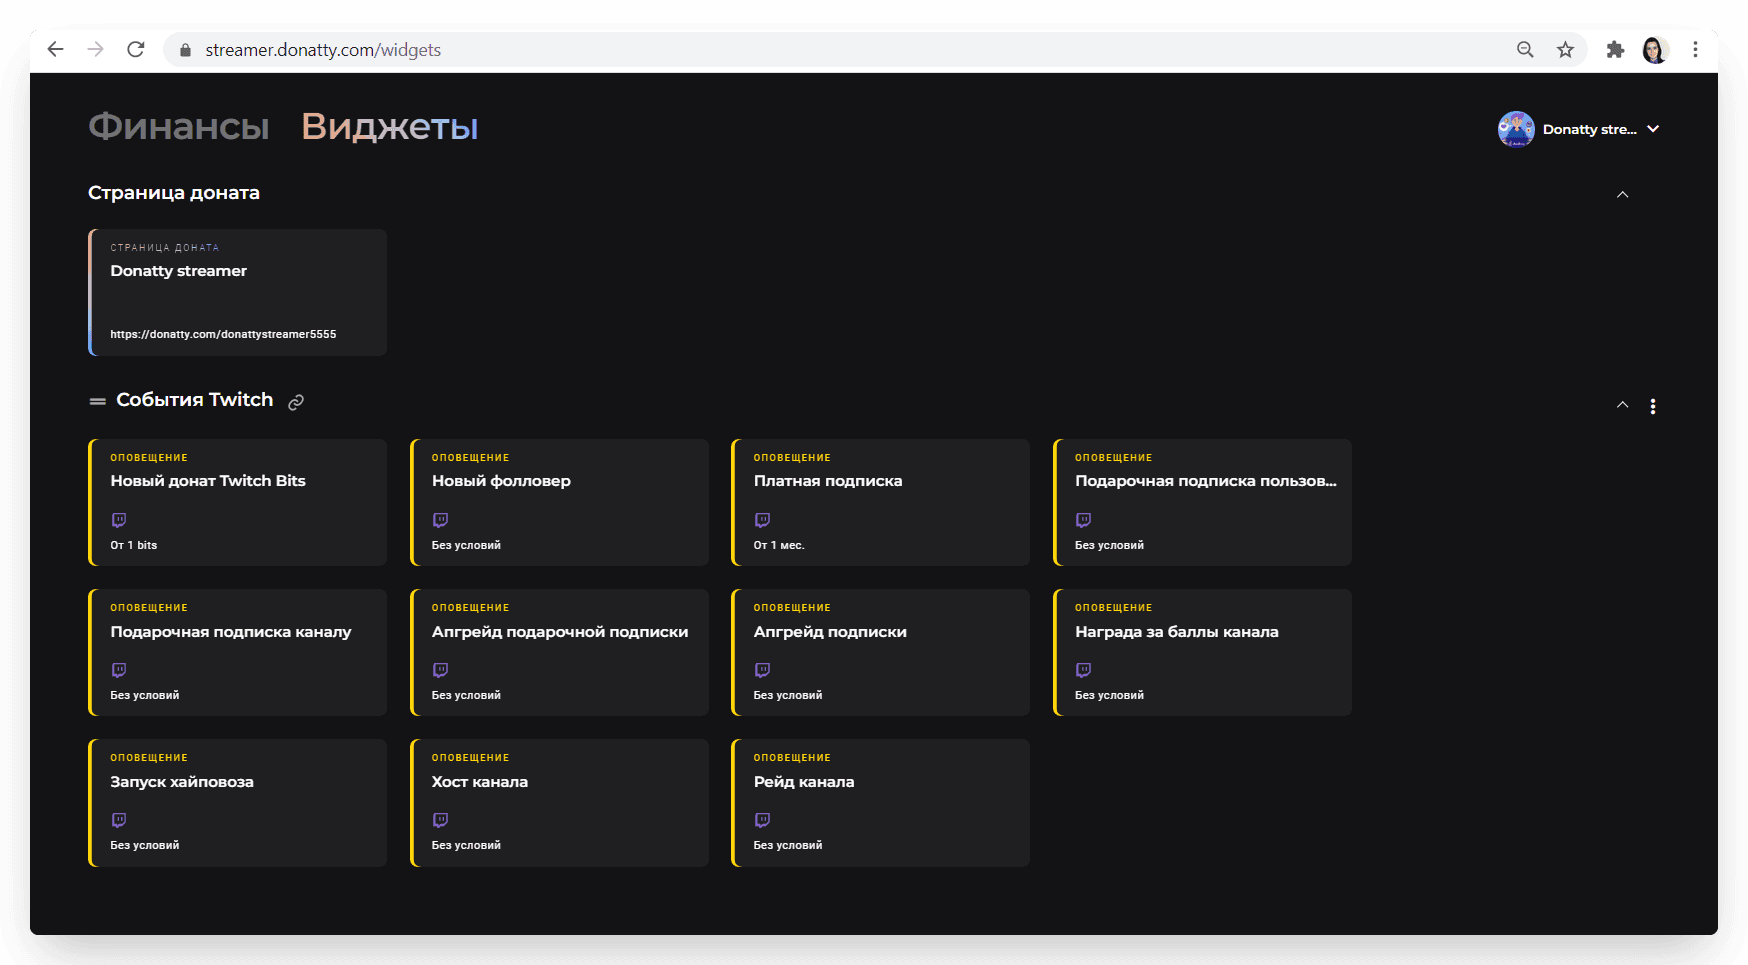
These widgets are pre-configured, but you can edit them or create your own widgets with Twitch as the data source. To do that, create a new widget and, in the Data sources block, pick the Twitch events you want alerts for.
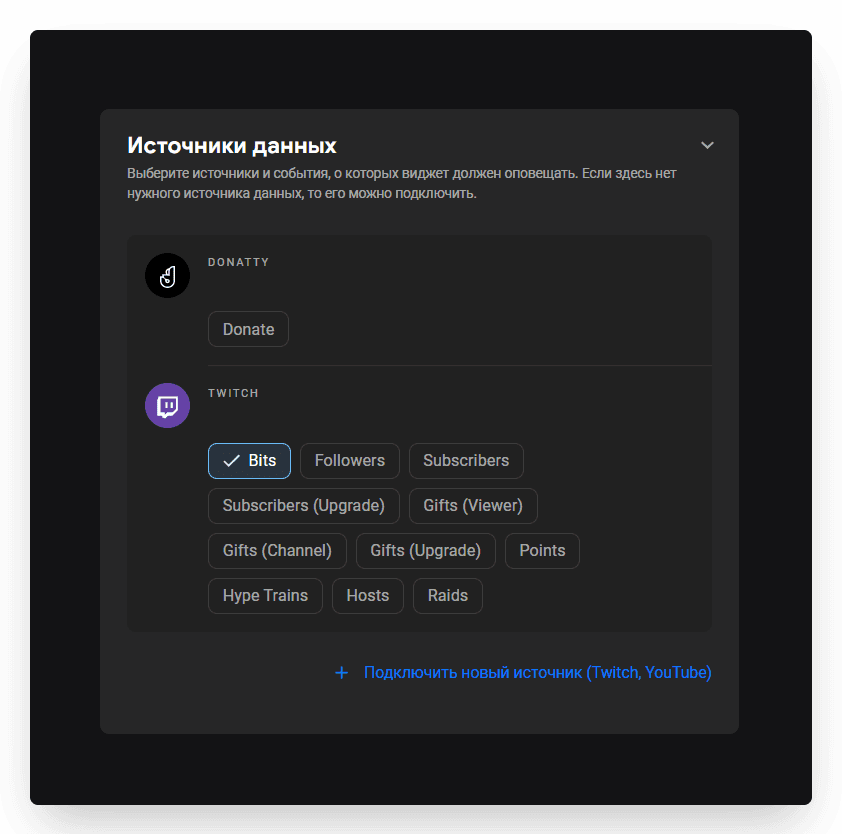
Tip: Donatty lets you select several event types at once, but make sure the alert text works for all of them. For example, if you combine Bits donations and rouble donations in one widget, it is better to use the {unit} tag — it is automatically replaced with Bits or roubles depending on where the donation came from.
Adding Twitch event alerts to your stream
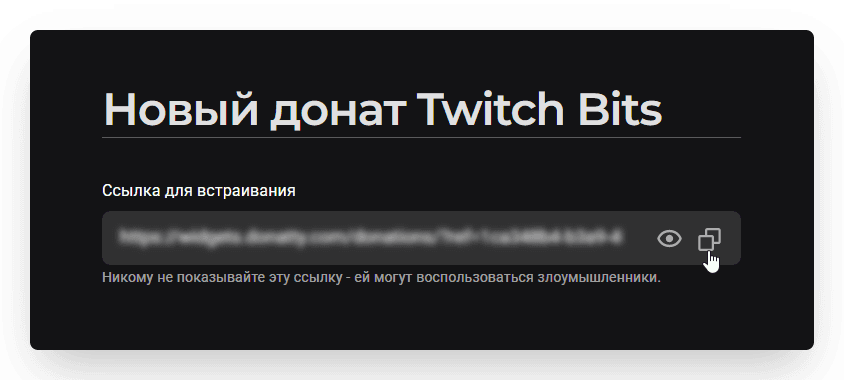
The process is the same as adding any other widget to your stream. Copy the widget link, which you will find at the top of the widget settings screen. To copy it, just click the button to the right of the link field.
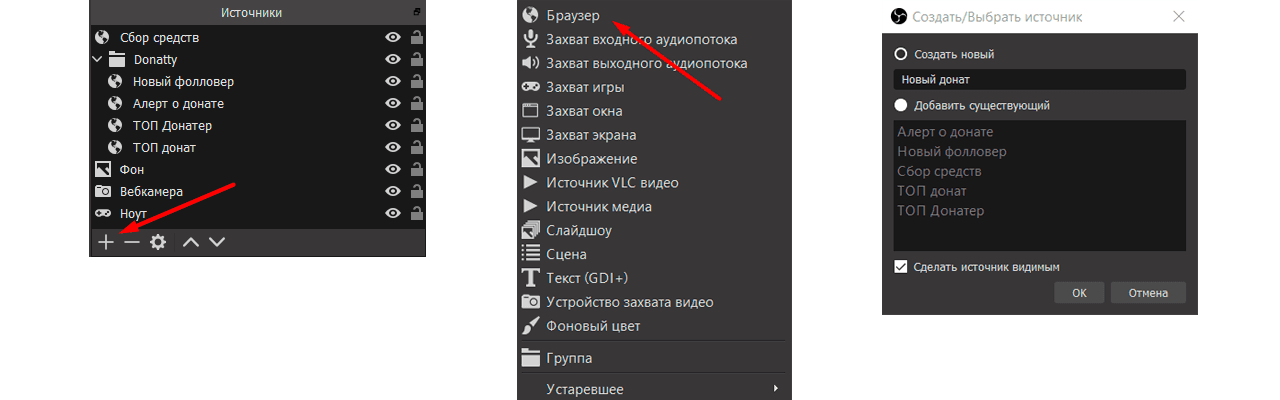
Then go to OBS, click Add in the Sources panel, choose Browser and enter a name for the source, for example “New donation”. In the dialog that appears, paste the link you copied earlier into the URL field and click OK.
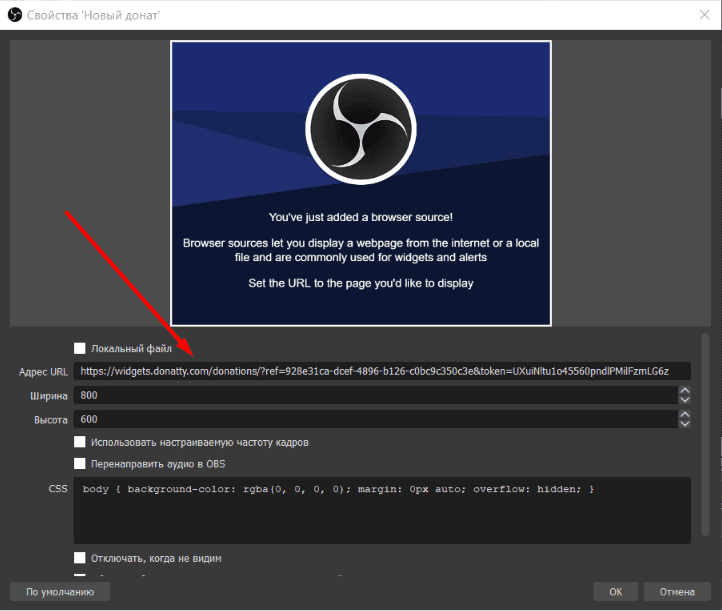
That completes adding the widget.
Checking that Twitch event alerts work on stream
There are several ways to test the alert:
Send a test to your stream from the dedicated block on the Finance page
Click the Test on stream button in the widget settings
Click Test on stream in the context menu of the widget card in the Widgets section
A new follower did not show up on stream
Twitch account settings now include a Share activity option. If that toggle is off, Twitch may not send Donatty information about the new event. Your new follower may well have it set that way.
Setting up a donation alert on stream: amount conditions, custom text and GIFs, adding it to OBS
Setting up donation alerts with amount conditions